


Phase 2: Catalogue Upload
Add your products to the Alshaya catalogue using AI auto-extraction or our Excel template, review the parsed details, and submit them for approval.
1. Two Ways to Add Products
From your dashboard, click Upload Catalogue to open the Upload Your Products window. You can choose how you'd like to add products to the catalogue:
Auto-Extract from PDF / Image
Upload a specification sheet and AI automatically fills in all the product details for you. Best when you already have supplier spec sheets or product flyers.
Upload Excel Catalogue
Download our template, fill it out manually, and upload the completed file. Best for bulk loads where you're entering many products at once.
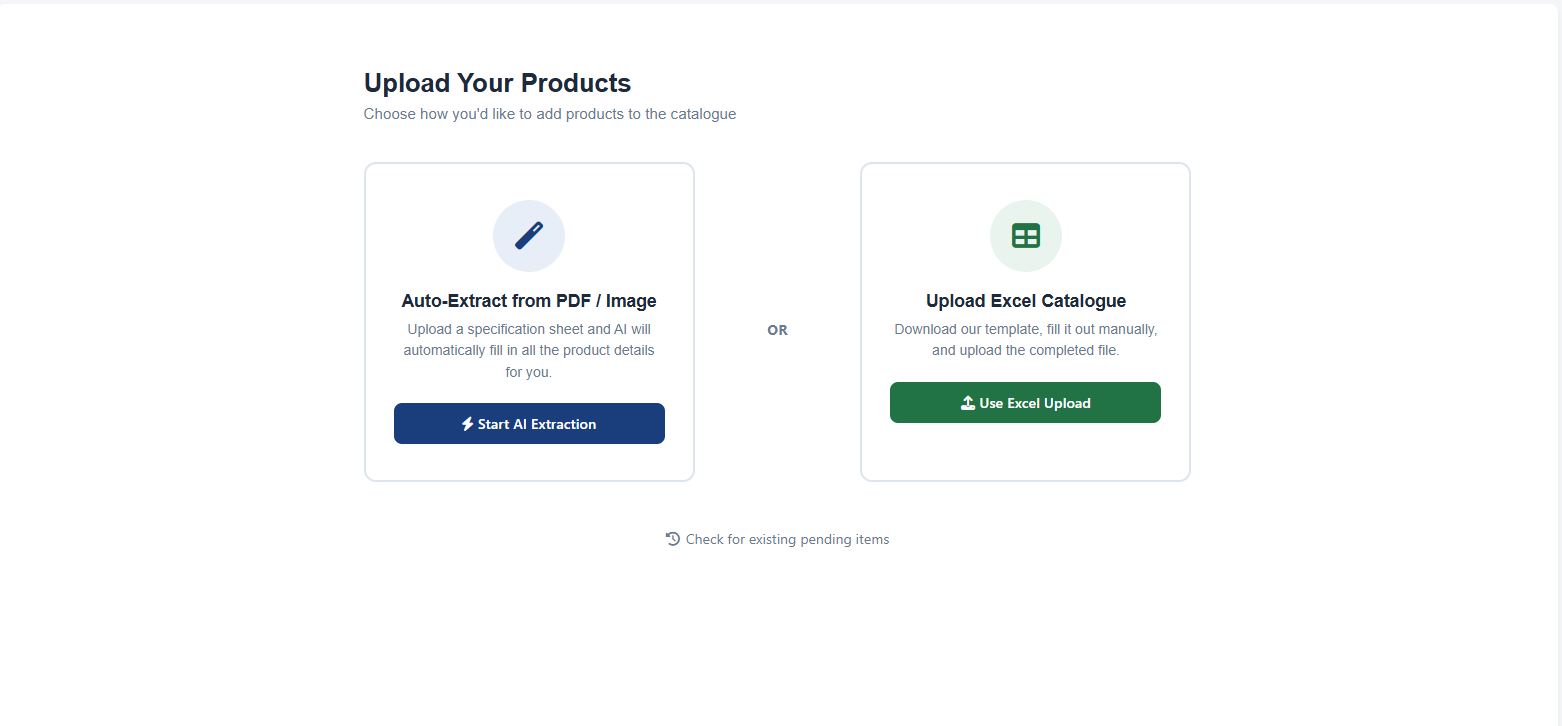
Fig 1: Choosing between AI extraction and Excel upload
Watch: Catalogue upload walkthrough
Prefer to watch? This short guide covers both upload methods and the review step.
2. Method A — AI Auto-Extract
Select AI Extract, then click to upload or drag and drop your specification sheet. Supported formats are PDF, PNG and JPG up to 10 MB.
- Drop your spec sheet onto the upload area.
- Wait while the AI processes the file and reads the product details.
- The system moves you straight into the review step with the fields pre-filled.
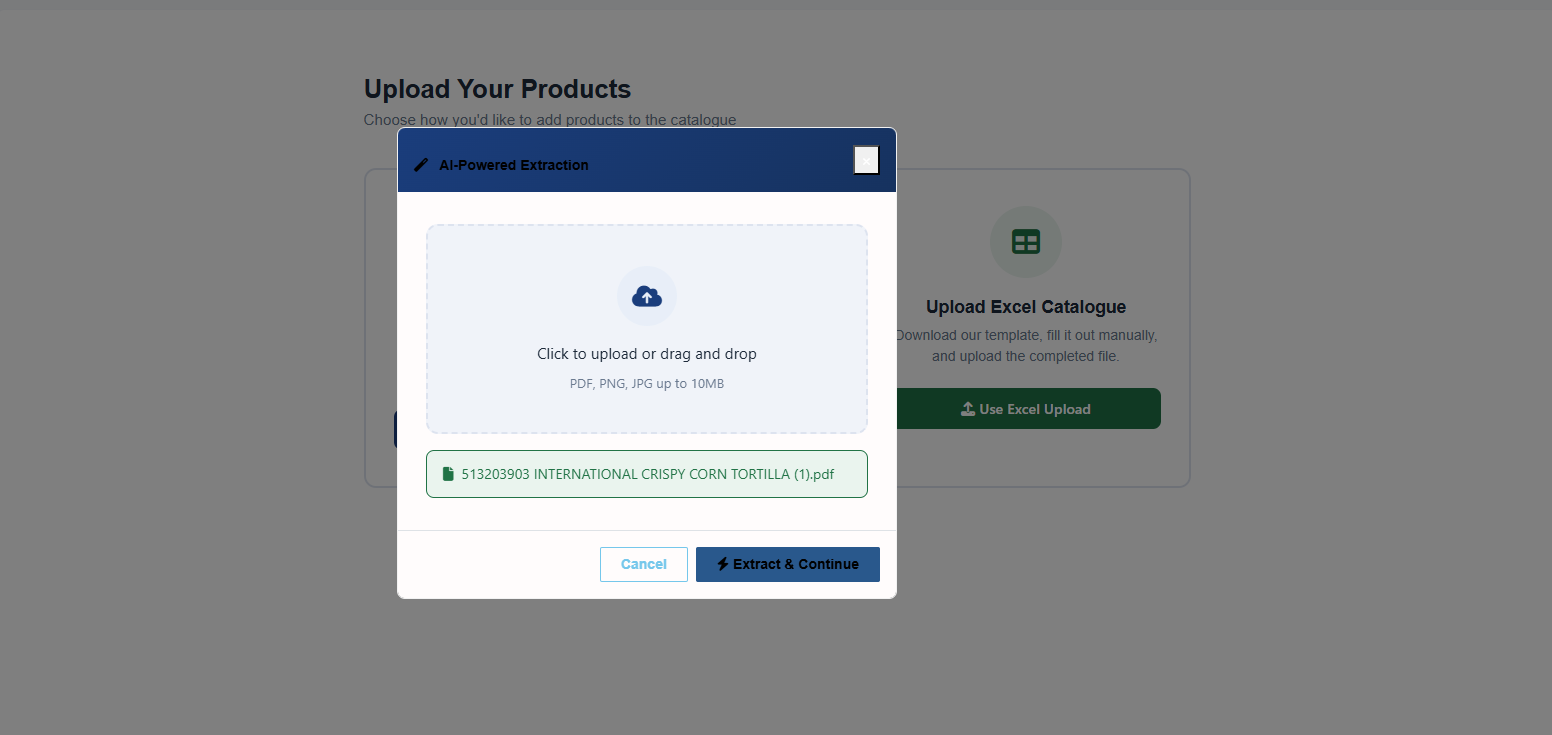
Fig 2: Uploading a specification sheet for AI extraction
3. Method B — Excel Bulk Upload
Select Upload (Excel), then:
- Download our template from the upload window.
- Fill in one row per product, keeping the column headings exactly as provided.
- Upload the completed file. Each valid row is loaded into the same per-product review step as the AI flow, ready for you to complete.
Because an Excel file can't carry the product label image, you'll upload each product's label in the review step — there's no separate task.
4. Reviewing, Editing & Adding Labels
Both methods bring you to the same review step. Your products are staged one at a time (e.g. Product 1 of 12) so you can check the details, complete any required fields, and upload the product label before submitting.
Required fields are clearly marked on the form. Work through each product, fill in anything that's missing or needs correcting, and upload the product label file. Anything the AI or your Excel file already provided is pre-filled, so in most cases you're just confirming the details and adding the label.
Page through every product using the navigation controls. If a required field is left blank, the form shows a validation message and blocks submission until it's completed. Your edits are tracked — if you try to leave with unsaved changes, you'll be warned.
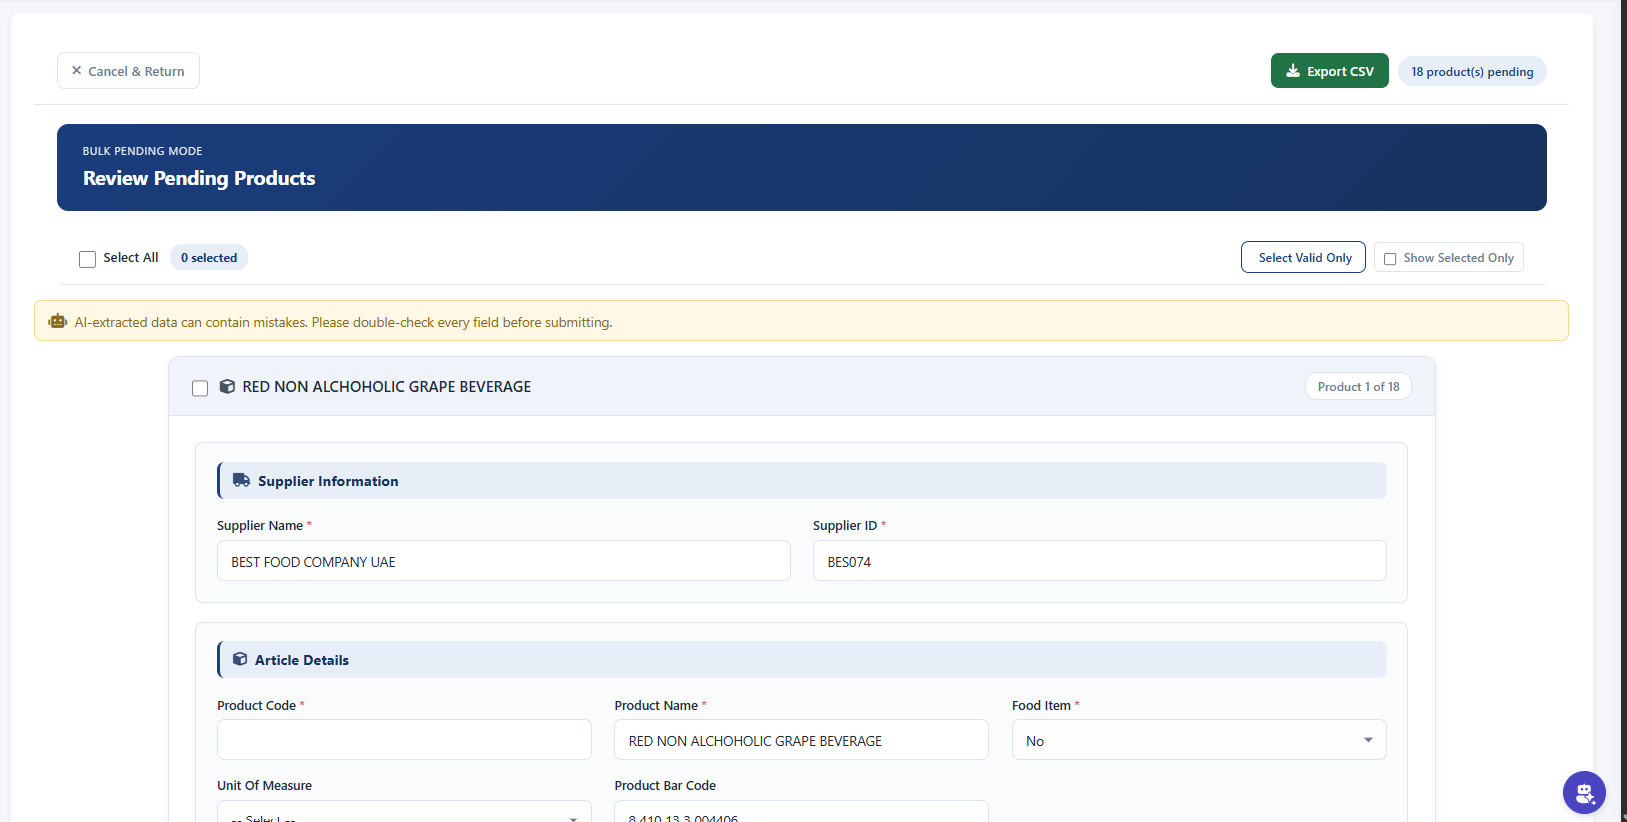
Fig 3: Reviewing and editing a product before submission
5. Submitting & the Approval Pipeline
Once you've completed the review step — required fields filled and the product label uploaded — submit your products. From here both methods follow the same flow: your articles enter the approval pipeline, where the Alshaya QA and SCM teams review them. You can follow each product's status from your dashboard:
- Pending — submitted and awaiting review.
- Approved — the article is accepted and becomes an active catalogue item.
- Rejected — the article needs changes; review the feedback, correct it, and resubmit.